
When you're tasked with building an API, Django is a seriously compelling choice. It masterfully blends a high-level, developer-friendly framework with the heavy-duty tools you need for modern web services. For anyone who needs to build fast without cutting corners on security or scalability, Django, especially paired with the incredible Django REST Framework (DRF), is often the right tool for the job. This comprehensive guide will walk you through building a professional-grade API, covering everything from the initial setup to advanced features like authentication, pagination, and API versioning, ensuring your application is robust and ready for the real world.
Why Django Is a Powerhouse for Building APIs
Before we jump into the code, it's worth taking a moment to appreciate why so many developers put their trust in Django for their backend services. It’s not just about hype. The framework’s core design philosophy directly solves many of the headaches that come with API development, making it a smart pick for everything from a weekend prototype to a massive enterprise system.
This isn't just a hunch, either. A 2023 global survey showed that a whopping 60% of developers are now using Django specifically for building APIs. This shift highlights the growing demand for dependable backends, especially in the United States, where 45.74% of the 43,235 companies using Django are based. These numbers reflect a strong industry consensus: when reliability matters, Django is a top contender for creating a robust api in django.
The Strategic Advantages of Django for APIs
So, what’s the secret sauce? Django's strength lies in its "batteries-included" approach, where critical features and a mature ecosystem come together perfectly. This isn't just about making life easier; it's about building better, more secure applications in less time. This philosophy means that many essential components are integrated seamlessly, saving developers from the tedious process of selecting and configuring third-party libraries for basic functionalities.
Here’s a quick rundown of what makes Django such a solid choice:
- Warp-Speed Development: Forget spending days on setup. Django gives you a ready-made admin panel, a battle-tested authentication system, and a world-class ORM right out of the box. This allows developers to focus immediately on the business logic of their application, significantly accelerating the development cycle from concept to deployment.
- A Brilliant ORM: The Django Object-Relational Mapper (ORM) is a game-changer. It lets you talk to your database using simple Python objects instead of writing raw SQL. This not only speeds things up but also helps you sidestep common SQL injection vulnerabilities by abstracting away the database interaction.
- Security by Default: Django takes security seriously. It comes with built-in defenses against common web threats like Cross-Site Scripting (XSS), Cross-Site Request Forgery (CSRF), and SQL injection. You're protected from day one, with a framework designed with security best practices at its core.
I've always felt the real magic of Django is how it handles the boring stuff for you. It frees you up to focus on the business logic that makes your application unique, rather than reinventing the wheel for user accounts or database access.
At the end of the day, picking a framework is about finding a tool that fits your project's long-term vision. While newer, lighter-weight options have emerged, Django’s stability and comprehensive toolkit offer a proven, reliable foundation for building a robust api in django. If you're still weighing the pros and cons, our deep dive into FastAPI vs Django might help you decide.
Laying the Foundation for a Scalable Django API
Before you write a single endpoint or design a model, the real work begins with a solid project structure. I've seen too many projects stumble later because of a messy start. Setting up a clean, isolated environment from day one is the single best thing you can do to prevent future headaches. It’s all about maintainability.
The first non-negotiable step? A virtual environment. Think of it as a pristine, self-contained bubble for your project's dependencies. This keeps everything tidy and separate from your system's global Python packages, which is absolutely critical for avoiding version conflicts and making your app reproducible. A well-managed virtual environment ensures that your application can be deployed consistently across different machines.
Let’s get that set up. Fire up your terminal, navigate to your project directory, and run these commands:
# First, create a virtual environment (I like to call it 'venv')
python -m venv venv

# Then, activate it. The command differs slightly by OS.
# macOS/Linux:
source venv/bin/activate
# Windows:
# venvScriptsactivate
Once that's active, your command prompt will usually change to show the environment name. Now you’re ready to install packages without cluttering up your machine.
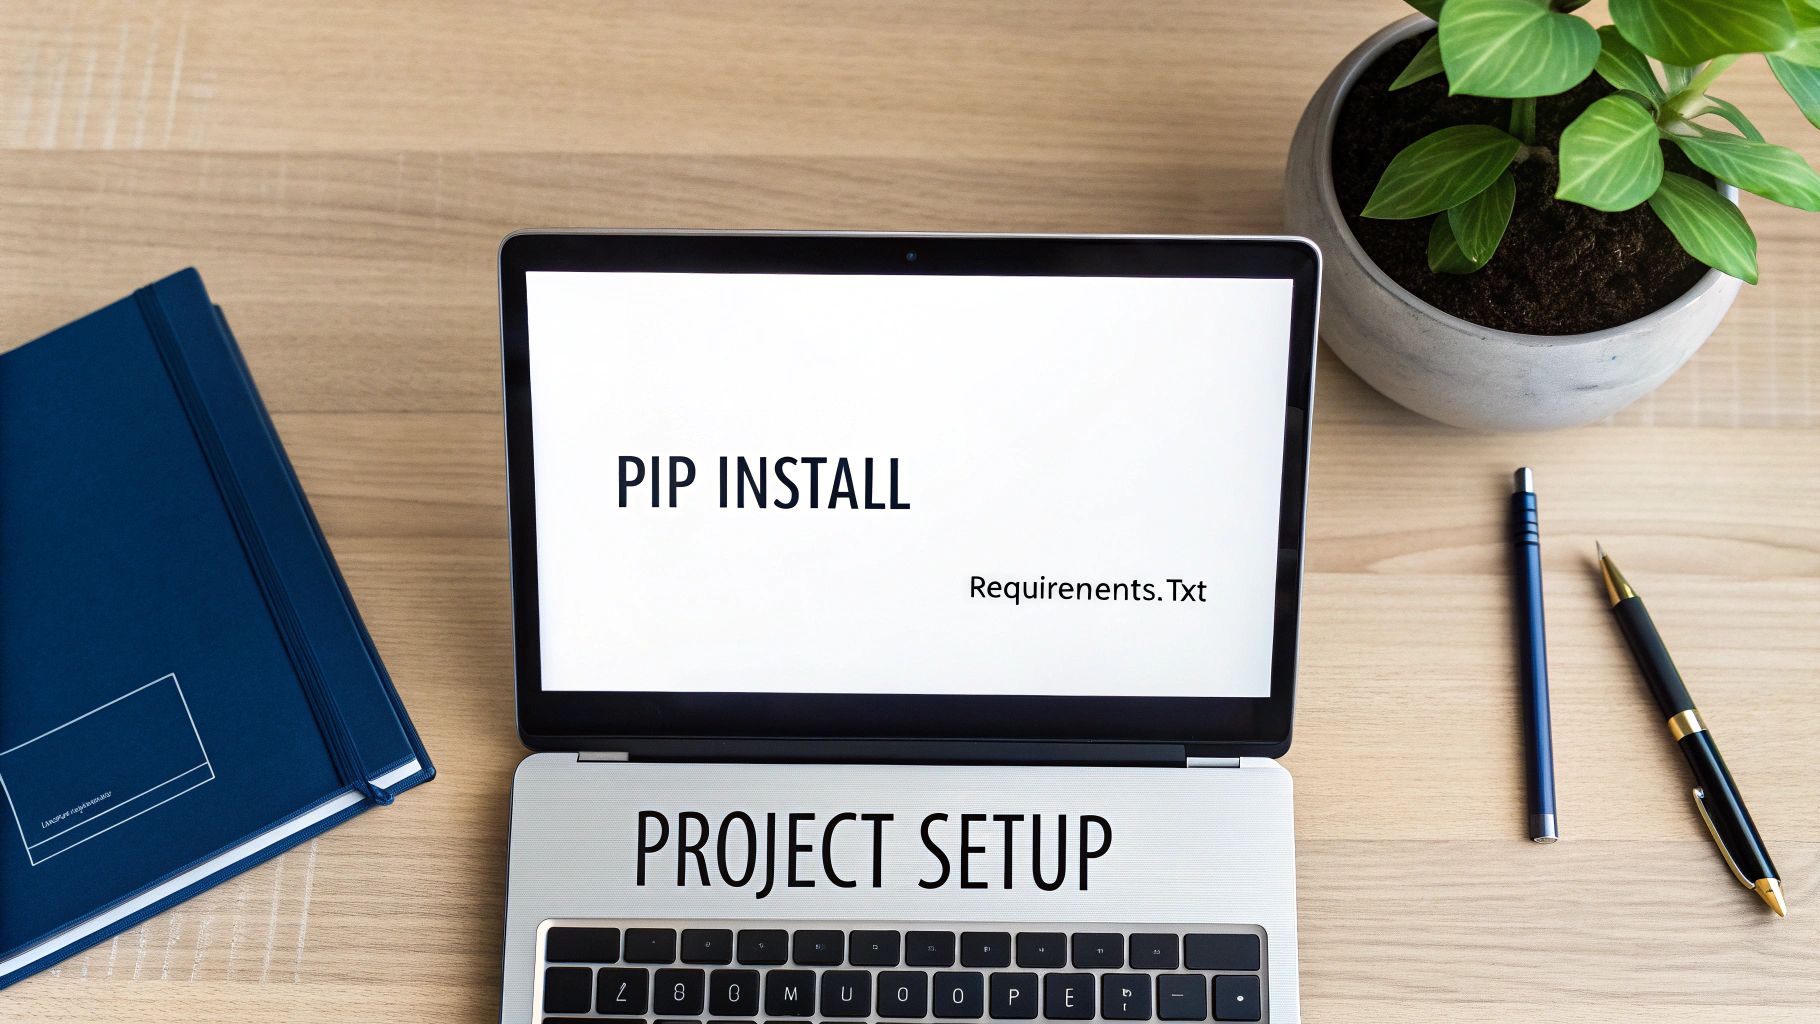
Installing Core Dependencies
With our clean slate ready, it's time to bring in the heavy hitters: Django itself and the incredible Django REST Framework (DRF). DRF is the toolkit that truly supercharges building a powerful api in django. It provides the serializers, views, and authentication mechanisms that transform Django into a first-class API framework.
Just run this one command:
pip install django djangorestframework
After the installation finishes, immediately lock down these versions. This is a habit that will save you and your team countless hours of debugging down the road. You do this by creating a requirements.txt file.
pip freeze > requirements.txt
My Two Cents: Seriously, don't skip the
requirements.txtstep. It’s the official recipe for your project's environment. Any time you add a new package, just runpip freeze > requirements.txtagain to update it. This is a foundational practice for any production-ready application.
Structuring Your Django Project
Now we're ready to actually create the Django project. A clean structure is key here. I've found the best approach is to create a top-level configuration directory and then a dedicated app for all the API logic. This keeps your project settings neatly separated from your API's business logic, promoting modularity and making the codebase easier to navigate and maintain as it grows.
Let’s create the project and a dedicated app for our API.
Initialize the project: The
.at the end is important—it creates the project in the current directory, avoiding an extra nested folder.django-admin startproject core .Create your API app: This is where all your models, views, and serializers for the API will live.
python manage.py startapp api
The final piece of the puzzle is telling Django that these new pieces exist. Open up core/settings.py and find the INSTALLED_APPS list. You need to add rest_framework and your new api app to it.
# core/settings.py

INSTALLED_APPS = [
    # ... other default apps
    'rest_framework',
    'api',
]
By adding these, you’re officially registering them with your project. This unlocks all of DRF's powerful features and lets Django know where to find your API's components. With that, our foundation is set. We're now ready to start building the core logic of our application.
Defining Your Data With Models and Serializers
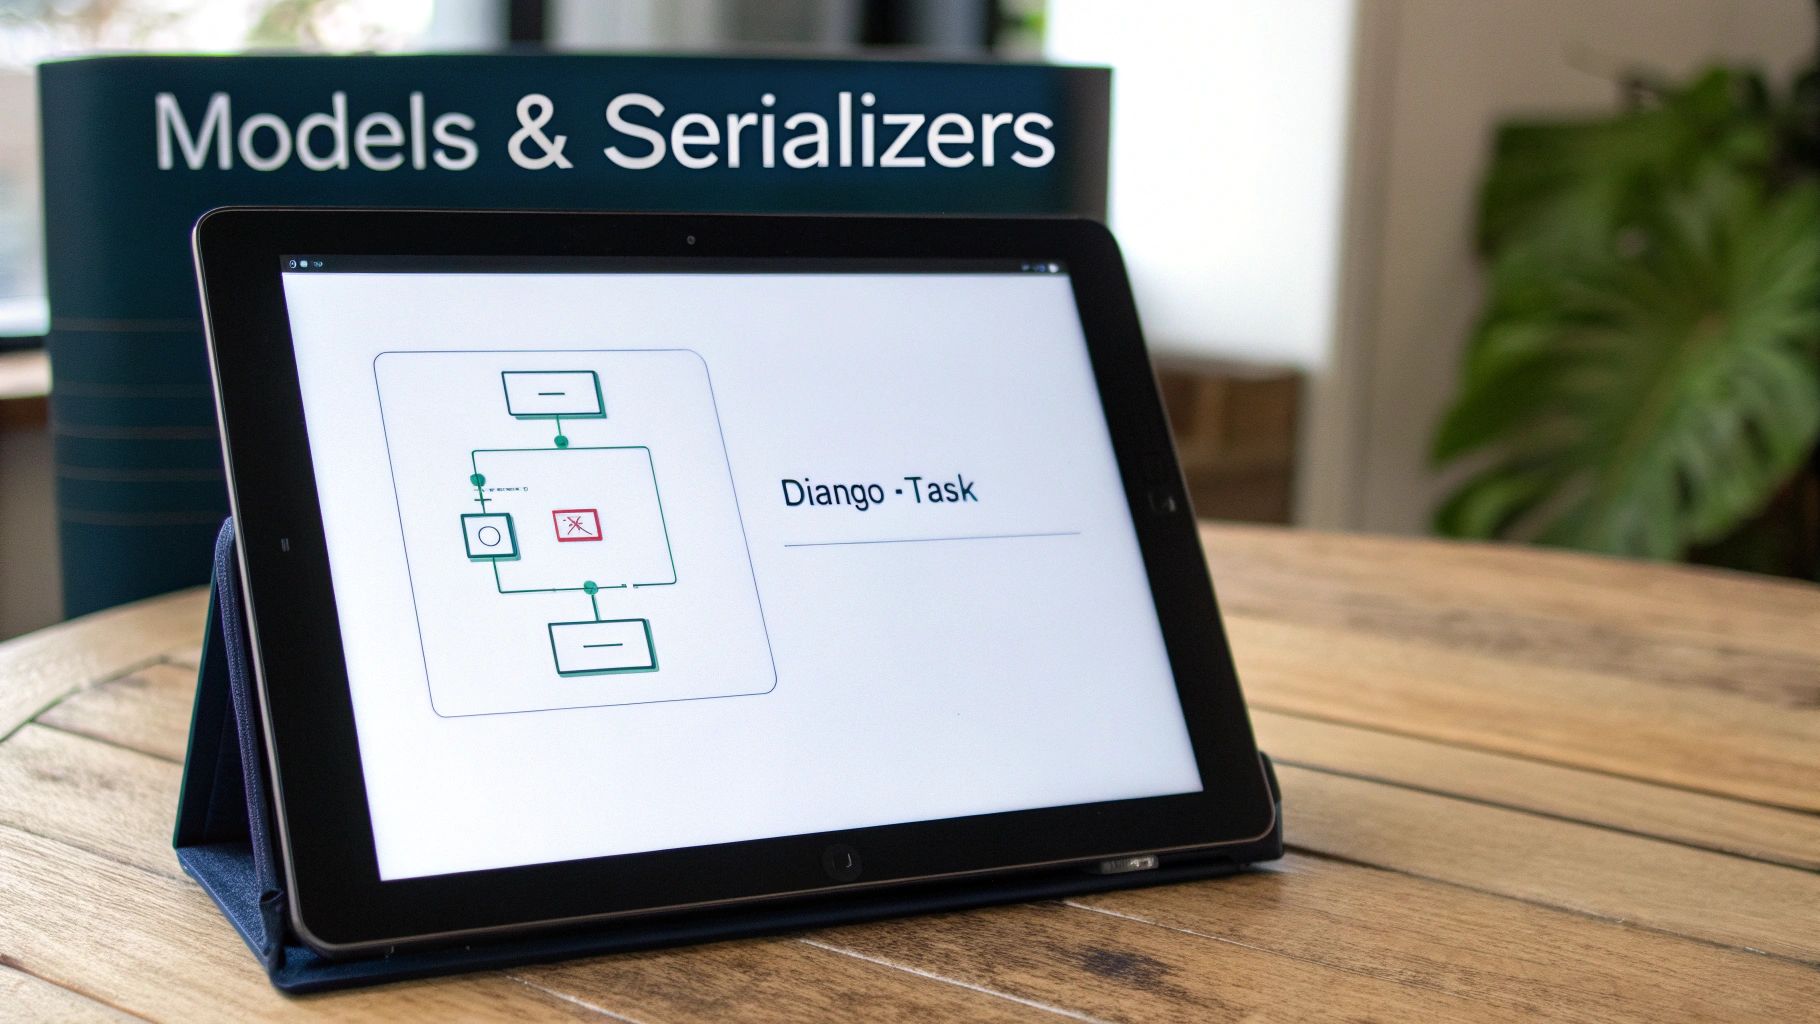
Alright, with our project structure sorted, it's time to dive into the core of any api in django: the data. This is where Django's ORM (Object-Relational Mapper) really makes life easier. We'll start by defining our data's shape using Django models.
Think of a Django model as a Python-based blueprint for a database table. This is a huge win because it means you can map out your entire data schema without ever touching raw SQL. You just write Python classes, which is faster, more intuitive, and way less prone to typos. The ORM handles the complex task of translating your Python code into efficient SQL queries.
Crafting Your First Django Model
Let's make this real. Say we're building a simple API for a to-do list app. The most basic thing we need is a way to represent a task. We can do this by creating a Task model inside our api/models.py file.
This class will tell Django to create a tasks table in the database, complete with columns for a title, description, completion status, and a couple of timestamps.
# api/models.py
from django.db import models

class Task(models.Model):
    title = models.CharField(max_length=200)
    description = models.TextField(blank=True, null=True)
    completed = models.BooleanField(default=False)
    created_at = models.DateTimeField(auto_now_add=True)
    updated_at = models.DateTimeField(auto_now=True)

    def __str__(self):
        return self.title
Once you've defined the model, you just need to run two quick commands to get it into the database: python manage.py makemigrations and then python manage.py migrate. Django takes care of generating and running all the necessary SQL for you.
Translating Data With Serializers
Okay, we have our model, but how do we get that data into a web-friendly format like JSON? That's where serializers come in. A serializer from the Django REST Framework (DRF) is the bridge between your complex model instances and the simple Python data types that can be easily rendered into JSON for an API response.
But they do so much more than just convert data. They are also crucial for validation and deserialization.
Serializers are your API's first line of defense. They are responsible for validating incoming data, ensuring that any information sent to your endpoints is well-formed and adheres to your rules before it ever touches your database. This validation role is absolutely critical for security and data integrity.
Inside our api app, go ahead and create a new file named serializers.py. We'll define a ModelSerializer, which is a fantastic DRF shortcut that automatically builds the serializer for you based on the model you point it to.
# api/serializers.py
from rest_framework import serializers
from .models import Task

class TaskSerializer(serializers.ModelSerializer):
    class Meta:
        model = Task
        fields = ['id', 'title', 'description', 'completed', 'created_at']
And that's it! In just a few lines of code, we now have a powerful tool that handles both serialization (Python object to JSON) and deserialization (JSON back to a Python object). It even comes with free validation. For example, if a client tries to create a task with a title longer than 200 characters, our serializer will automatically reject it with a clean error message. This tight coupling of models and serializers is what gives your API a rock-solid data layer.
Bringing Your API to Life With Views and Routers
With our data models and serializers sorted, we can finally get to the fun part: creating the actual API endpoints. This is where we’ll build the logic that handles incoming requests from a frontend app or any other client. In the world of Django, this is all handled by views.
Now, you could manually create a separate view for every single action—one for listing tasks, another for creating them, a third for updates, and so on. But that gets old, fast. Thankfully, the Django REST Framework (DRF) gives us a much more elegant solution: ViewSets.
A ViewSet is a brilliant abstraction that bundles the logic for a whole set of related views into a single class. For our Task model, instead of juggling five or six different views, we can use a ModelViewSet to handle every standard CRUD (Create, Read, Update, Delete) operation in just a handful of lines.
The Power of ModelViewSet
Let's see this in action for our Task model. All you need to do is pop open your api/views.py file and create a TaskViewSet that inherits from ModelViewSet.
# api/views.py
from rest_framework import viewsets
from .models import Task
from .serializers import TaskSerializer

class TaskViewSet(viewsets.ModelViewSet):
    """
    API endpoint that allows tasks to be viewed or edited.
    """
    queryset = Task.objects.all().order_by('-created_at')
    serializer_class = TaskSerializer
And… that's it. Seriously. This tiny block of code just gave us endpoints to list all tasks, create a new one, retrieve a specific task by its ID, update it, and even delete it. It's an incredible productivity win and a perfect example of keeping your code DRY (Don't Repeat Yourself). It's no wonder that 51% of Django developers report using it for professional backend API work, according to JetBrains' 2025 survey. You can read more about how developers use Django in the full report.
Choosing Between APIView, APIViewSet, and ModelViewSet
ModelViewSet is often the right choice, but DRF provides a few different view classes. Knowing which one to pick depends on how much control you need versus how much magic you want DRF to handle for you.
Here’s a quick breakdown to help you decide.
| View Type | Best For | Level of Abstraction | Example Use Case |
|---|---|---|---|
| APIView | Highly custom, non-CRUD endpoints. | Low (Most control) | A /report/ endpoint that runs a complex aggregation and doesn't map to a single model. |
| ViewSet | Custom logic that follows RESTful conventions but isn't tied to a model. | Medium | Managing actions on an external service, like a PaymentGatewayViewSet. |
| ModelViewSet | Standard CRUD operations for a single Django model. | High (Least code) | A /tasks/ endpoint for creating, listing, updating, and deleting Task objects. |
In short, start with ModelViewSet whenever you're working with a model. If you find yourself fighting its conventions or needing to build something totally custom, that's a good signal to drop down to a regular ViewSet or even a plain APIView.
Automating URLs with Routers
Now that our ViewSet is ready, the last piece of the puzzle is hooking it up to our project's URLs. Again, we could map every URL to every action manually, but that would be a nightmare to maintain. DRF comes to the rescue with Routers.
A router automatically generates all the URL patterns for a ViewSet, saving you a ton of tedious work.
First, create a new api/urls.py file and set up a DefaultRouter.
# api/urls.py
from django.urls import path, include
from rest_framework.routers import DefaultRouter
from .views import TaskViewSet

# Create a router and register our viewsets with it.
router = DefaultRouter()
router.register(r'tasks', TaskViewSet)

# The API URLs are now determined automatically by the router.
urlpatterns = [
    path('', include(router.urls)),
]
Finally, we just need to tell our main core/urls.py file about these new API-specific URLs by including them. By simply registering the TaskViewSet with the router, DRF automatically wires up a full suite of RESTful URLs for us, including /api/tasks/ for listing and creating, and /api/tasks/{id}/ for retrieving, updating, and deleting individual tasks.
This combination of
ModelViewSetandDefaultRouteris the bread and butter of building a scalable and conventional api in django. It drastically cuts down on boilerplate, encourages RESTful best practices, and makes your API predictable and easy for other developers to understand and consume.
Securing Endpoints With Authentication and Permissions

Right now, our API is functional, but it's also wide open. Anyone can create, view, update, or delete tasks. In a real-world application, this is a massive security hole. An unprotected api in django is more than just a bad practice; it’s a critical vulnerability just waiting for someone to exploit it.
This is where authentication and permissions come in. Think of it this way: authentication verifies who a user is, while permissions determine what they are allowed to do. For the stateless APIs we're building today, token-based authentication is the way to go.
Implementing Token-Based Authentication
Thankfully, Django REST Framework makes setting up token authentication incredibly straightforward. The flow is simple: a user provides their credentials (like a username and password), and in return, we give them a unique token. They include this token in the Authorization header of every future request to prove it's really them.
Let's get this set up. First, we need to add DRF's built-in token app to our INSTALLED_APPS list in settings.py.
# core/settings.py
INSTALLED_APPS = [
    # ... other apps
    'rest_framework.authtoken',
]
After adding that line, run the migrations with python manage.py migrate. This command creates the database table that DRF will use to store the tokens.
Next, we have to tell DRF that this is our default authentication method. This is a quick one-liner in the REST_FRAMEWORK dictionary inside settings.py.
# core/settings.py
REST_FRAMEWORK = {
    'DEFAULT_AUTHENTICATION_CLASSES': [
        'rest_framework.authentication.TokenAuthentication',
    ],
}
And that's it for the basic setup. DRF will now automatically check incoming requests for a valid token. Our endpoints are technically protected, but we haven't defined any rules about who can actually access them.
Managing Access With Permissions
By default, even with authentication in place, DRF doesn't block anyone. We need to explicitly lock things down. The simplest first step is to require all users to be authenticated before they can hit the TaskViewSet at all.
We can do this by adding the permission_classes attribute directly to our viewset.
# api/views.py
from rest_framework.permissions import IsAuthenticated

class TaskViewSet(viewsets.ModelViewSet):
    # ... queryset and serializer_class
    permission_classes = [IsAuthenticated]
With that single line, any unauthenticated request to the /tasks/ endpoint will now get a 401 Unauthorized error. That's a huge improvement, but we still have a problem: any logged-in user can edit or delete any other user's tasks. For a deeper dive into these kinds of weak points, check out our guide on common API security vulnerabilities.
Key Takeaway: Separating authentication from permissions gives you granular control.
IsAuthenticatedis your baseline gatekeeper, but custom permissions are where you implement the real business logic that makes your API secure and robust.
Let's fix that. We'll create a custom permission to ensure users can only modify their own data. Create a new file, api/permissions.py, and add the following logic.
# api/permissions.py
from rest_framework import permissions

class IsOwnerOrReadOnly(permissions.BasePermission):
    """
    Custom permission to only allow owners of an object to edit it.
    """
    def has_object_permission(self, request, view, obj):
        # Read permissions are allowed to any request,
        # so we'll always allow GET, HEAD or OPTIONS requests.
        if request.method in permissions.SAFE_METHODS:
            return True

        # Write permissions are only allowed to the owner of the task.
        return obj.owner == request.user
Once this custom permission class is applied to the TaskViewSet, we've established a critical security boundary. Now, users can only manage their own data. This isn't just a nice-to-have; it's a non-negotiable step for building a secure, multi-user application.
Adding Professional Features to Your API
Once you've locked down your endpoints, it's time for the professional touches that take an API from a functional prototype to a truly production-ready service. We're talking about features that solve real-world problems like performance at scale, long-term maintenance, and the overall developer experience. A top-notch api in django isn't just about what it does—it's about how well it does it and how easy it is for others to use.
The first big hurdle is often dealing with large datasets. If an endpoint could return thousands—or even millions—of records, fetching them all in one go will hammer your server and leave clients waiting. That's where pagination saves the day.
Gracefully Handling Large Datasets
Pagination is just a fancy word for splitting a huge list of results into smaller, manageable "pages." Thankfully, Django REST Framework (DRF) has several built-in pagination styles that are dead simple to set up. You can apply a default style across your entire project in settings.py or customize it for specific views.
For instance, let's add some basic page number pagination to our TaskViewSet. It only takes a few lines of code.
# api/views.py
from rest_framework.pagination import PageNumberPagination

class StandardResultsSetPagination(PageNumberPagination):
    page_size = 10
    page_size_query_param = 'page_size'
    max_page_size = 100

class TaskViewSet(viewsets.ModelViewSet):
    # ... queryset, serializer_class, permission_classes
    pagination_class = StandardResultsSetPagination
With this in place, your API responses will automatically include count, next, and previous links in the payload. This gives clients everything they need to navigate through the data efficiently without overwhelming your server.
Pro Tip: Always set a
max_page_size. This is a critical safeguard. It stops a user from making a malicious request like?page_size=1000000and effectively bypassing your pagination efforts.
API Versioning for Seamless Evolution
Your application is going to evolve, which means your API will have to change. You might add new fields, remove old ones, or restructure an endpoint entirely. Versioning is how you roll out these updates without breaking existing applications that depend on the old API structure.
DRF supports a few different versioning schemes, but URL Path Versioning is one of the most popular because it's so explicit.
This strategy puts the version number right in the URL, like /api/v1/tasks/. There's no ambiguity—everyone knows exactly which version of the API they're hitting. To get this working, you just add a version parameter to your URL patterns and configure the URLPathVersioning class in your DRF settings. It's a foundational practice for any API that's meant to last. As you think about your API's lifecycle, diving into RESTful API testing becomes the logical next step.
Don't Forget the Documentation
Finally, a great API is one that people can actually use, and that means great documentation is non-negotiable. Tools like drf-spectacular are fantastic for this. It can automatically generate interactive API documentation (like Swagger UI or Redoc) straight from your code, making it incredibly easy for other developers to understand your endpoints and start building. Self-documenting APIs reduce integration time and minimize support requests, making them a crucial component of any professional project.
Common Questions I Hear About Building Django APIs
As you start your journey building APIs with Django, a few questions always seem to pop up. Trust me, I've asked them myself and answered them for countless other developers. Getting these fundamentals right from the start can save you a world of headaches down the road.
Let's dive into some of the most common questions and get you some clear, practical answers.
What's the Real Difference Between Django and Django REST Framework?
This is a big one, so let's clear it up. Think of Django as the main powerhouse. It’s the web framework that gives you the solid foundation—the ORM for talking to your database, that amazing admin panel, URL routing, and all the core web development tools. You could technically build an API using just Django, but you'd be doing a lot of heavy lifting yourself, like manually converting querysets to JSON and handling HTTP request parsing.
That's where Django REST Framework (DRF) comes in. It's a specialized toolkit built on top of Django, designed specifically for crafting web APIs. DRF gives you all the pieces you're missing, like serializers for translating data, rock-solid authentication classes, and generic views that slash the amount of code you need to write. It’s the de facto standard for a reason.
Should I Use Function-Based or Class-Based Views?
Early on, function-based views feel really simple. You can just slap a @api_view decorator on a function, and you've got a working endpoint. They’re great for quick, one-off tasks or highly customized endpoints that don't fit the standard CRUD pattern.
But for anything serious, class-based views are the professional standard. More specifically, you'll want to get comfortable with ViewSets. They are a game-changer. ViewSets offer a much higher level of abstraction, letting you define all the standard CRUD (Create, Read, Update, Delete) logic for a model in a single class. This dramatically cuts down on boilerplate and pairs perfectly with DRF's routers, which can automatically generate your entire set of URL patterns.
My advice? It’s fine to start with function-based views to get a feel for things. But as soon as you find yourself building out the full lifecycle for a resource, make the jump to class-based ViewSets. Your future self will thank you for the clean, maintainable code.
How Do I Fix Those Annoying CORS Errors?
Ah, the classic CORS (Cross-Origin Resource Sharing) error. You'll hit this the moment you try to connect a frontend application (running on, say, localhost:3000) to your API (running on localhost:8000). For security, browsers block these cross-domain requests by default.
The fix is surprisingly simple: your Django backend needs to tell the browser which other "origins" (domains) are allowed to talk to it. The easiest and most reliable way to do this is with the django-cors-headers package.
Getting it set up is a breeze:
- First, install it:
pip install django-cors-headers - Then, add
'corsheaders'to yourINSTALLED_APPSinsettings.py. - Next, slip its middleware into your
MIDDLEWAREsetting, usually near the top. - Finally, define which frontend domains are safe by setting
CORS_ALLOWED_ORIGINSin your settings.
Once that's configured, your API will send the right headers, and browsers will know that your frontend is a trusted source.
Getting code into production involves a lot more than just writing it. You need a solid strategy for deployment, scaling, and security. At Vibe Connect, our team of expert "Vibe Shippers" and AI agents take on the heavy lifting of DevOps and infrastructure. This frees you up to focus on what really matters: building an amazing product. We specialize in turning ambitious ideas into scalable, secure, and production-ready applications. Learn more about how Vibe Connect can accelerate your launch.